

In today’s digital world, it has become very convenient to save our images in multiple file formats. Among several image formats, PNG (Portable Network Graphics) and JPG (or JPEG – Joint Photographic Experts Group) are the most used.
While both formats are widely used, they serve different purposes. The PNG format is known for its lossless compression and ability to handle transparent backgrounds. On the other hand, JPG images are preferred for their smaller file sizes and broad compatibility, making them best for websites, social media, and digital portfolios.
However, there are times when you may need to convert your PNG file to JPG to facilitate sharing, enhance compatibility, or reduce file size. It’s important to execute this conversion carefully to preserve the quality of the original file. In this guide, we’ll explain different methods on how to convert PNG to JPG without losing quality.
When to Convert PNG to JPG?
Before applying any method to change your image file format, it’s essential to understand why this conversion is necessary. Here are a few main reasons:
- Reduce File Size: JPG images take less storage space, which is helpful for web pages or when sending them via email.
- Faster Loading Time: Being smaller in size, JPEG photos load faster, resulting in improved website speed and user experience.
- Compatibility: JPEG photos are more compatible across devices, apps, and platforms in comparison to other image file formats.
- Social Media Sharing: JPEG photos are more convenient and easier to share across different social media platforms.
However, the key concern is how to retain as much quality as possible during conversion.
Does Converting File Format from PNG to JPG Always Lose Quality?
Typically, Yes! Converting the image from PNG (lossless) to JPG (lossy) inherently results in some loss of quality. JPG compression removes details the algorithm deems unnecessary to reduce file size.
But you can reduce the extent of this quality loss. With proper settings (high-quality compression levels, correct colour profiles, and efficient tools), you can produce a JPG that looks nearly identical to the original PNG to the human eye.
How do I Convert PNG to JPG Without Losing Quality?
In this part, we’ll explore different methods, online or tool-based, which you can use to convert your image file format from PNG to JPG:
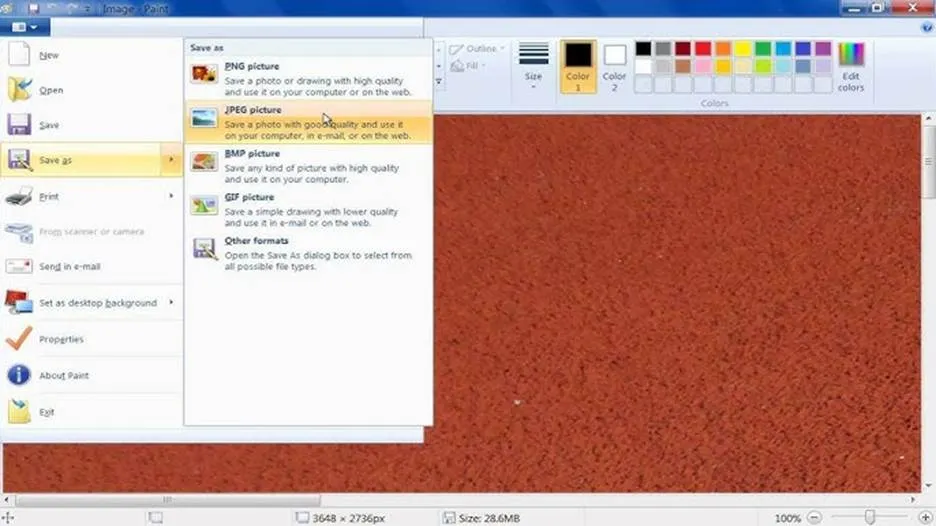
Method 01: Use MS Paint Tool
Windows provide a built-in feature in MS Paint that you can use to change the file format of your photo. To convert the photo using Paint, you’ve to:
- Firstly, open the JPEG photo in the Paint app.
- Go to File > Save As, then select JPEG picture.
- Select the destination folder where you want to save the converted photo.
- Click Save and save the photo at a safe location on your PC.
Method 02: Convert Photo Format Using Adobe Photoshop
Adobe Photoshop is one of the most reliable tools for converting photo formats without losing quality. With its simple export options, you can easily change images between formats like PNG, JPG, TIFF, and more. All you have to do is:
- Launch PNG photo in Photoshop.
- Navigate to File, click Save As or Export and then tap Export As.
- Select JPG (JPEG) as the file format.
- From the Quality slider, choose Maximum (10–12).
- Also, ensure that the Colour Profile is configured to sRGB IEC61966-2.1 for web use.
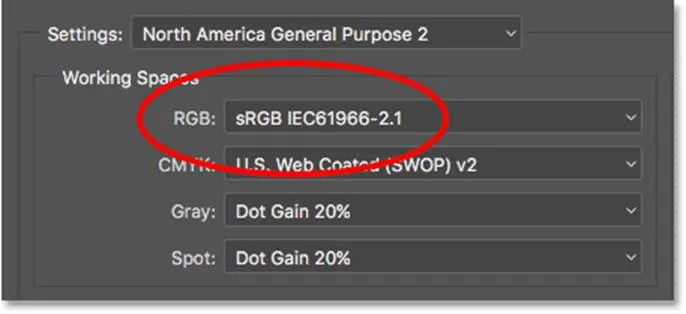
- Lastly, click Save or Export to save the converted photo.
Method 03: Use Free Online Image Converters
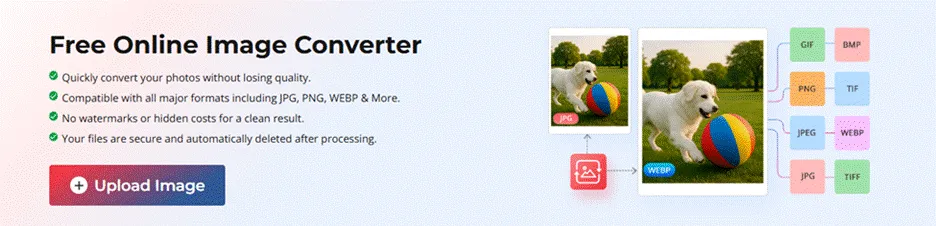
If you’re looking for an easy and direct approach to convert your image file format from PNG to JPG, then a free online image converter can help you. Tools like Stellar Online Image Converter are especially designed to convert your image file format directly from the browser, without any third-party software installation. You just need to visit the official page, upload your photo, and click Convert to initiate the process.
Here’s a step-by-step guide to help you convert your PNG images to JPG format efficiently without losing quality:
Step 1: Visit the official website of Stellar Online Image Converter and click the Upload Image button to add the photo you need to convert.
Step 2: After uploading, choose JPG (JPEG) as the desired output format and click Convert to initiate the conversion process.

Step 3: Once the conversion is complete, tap the Download Converted Image button to save the converted JPG image to your device.
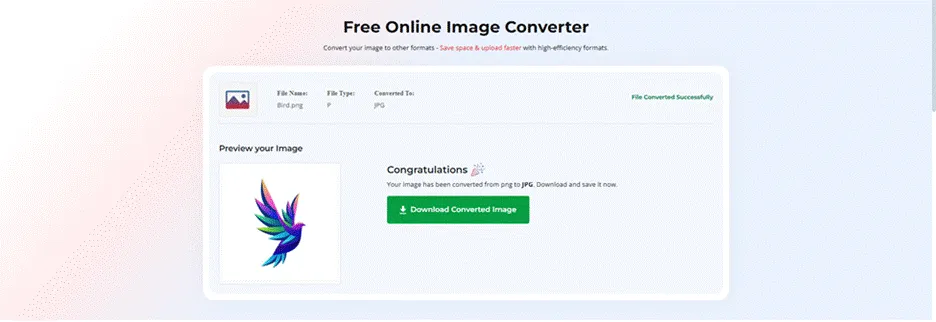
That’s it! Your PNG image is now successfully converted to a high-quality JPG file.
Additional Tips to Maintain Image Quality During Conversions
Though JPEG is lossy, you can consider below practices to minimise visible quality loss on your photo during conversion:
- Start Conversion with High-Resolution PNG: The higher the resolution of your original PNG photo, the better the final look will be.
- Set Quality to 100% (Or Maximum): Many online tools allow selecting the JPG quality during conversion. Always select the highest value when quality is a priority.
- Avoid Multiple Saves: Resaving the converted JPG photo destroys its quality each time you save. Always keep your PNG original as a backup.
- Use Proper Lighting and Sharpness: If the image appears dull or soft after conversion, adjust brightness and sharpness slightly before saving.
Common Mistakes to Avoid During Conversion
Here are some mistakes that generally happen during photo conversion from PNG to any other file format, including JPEG. Try to avoid these pitfalls to enjoy a smooth and hassle-free conversion:
- Converting Transparent PNGs: JPG doesn’t support transparency. Transparent areas will appear with a white or black background unless replaced manually.
- Repeated Conversions: Avoid repeatedly switching formats (PNG → JPG → PNG). Each lossy save degrades quality.
- Ignoring Colour Profiles: Different formats and photo viewer apps handle colour profiles differently. Failing to maintain consistent colour profiles (such as sRGB) can cause colour shifts or dull tones after conversion.
Final Thoughts
Converting PNG photos to JPG, especially while keeping the quality intact, can be challenging. But the aforementioned methods can help you convert your image file format easily. You can start with built-in tools like Paint or the Photos app, then move to Photoshop. However, if these steps fail, then a third-party free online image converter like Stellar Online Image Converter can be the best alternative. With the right approach, you can enjoy the smaller file sizes of JPGs without sacrificing clarity, colour, or detail.


Leave a Reply