
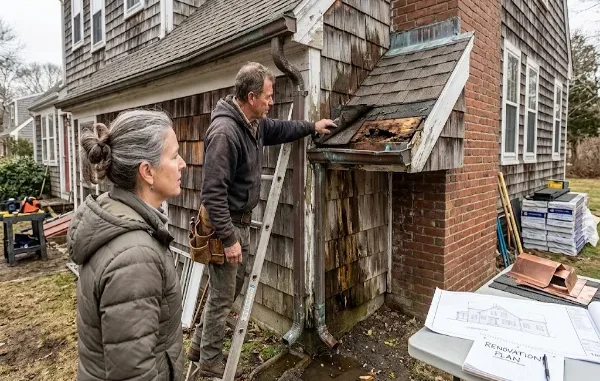
An older house can turn a straightforward exterior project into a longer conversation. A homeowner starts with worn shingles. The old roof comes off, and deteriorated flashing appears beside a chimney. The trim below feels soft. A gutter has been dumping water near the same corner for years. The roof was simply the first visible clue.
That is why older homes need a wider inspection before exterior work begins. Experienced Cape Cod roofing contractors often have to look at roofing, siding, trim, gutters, and drainage as connected parts of the same job.
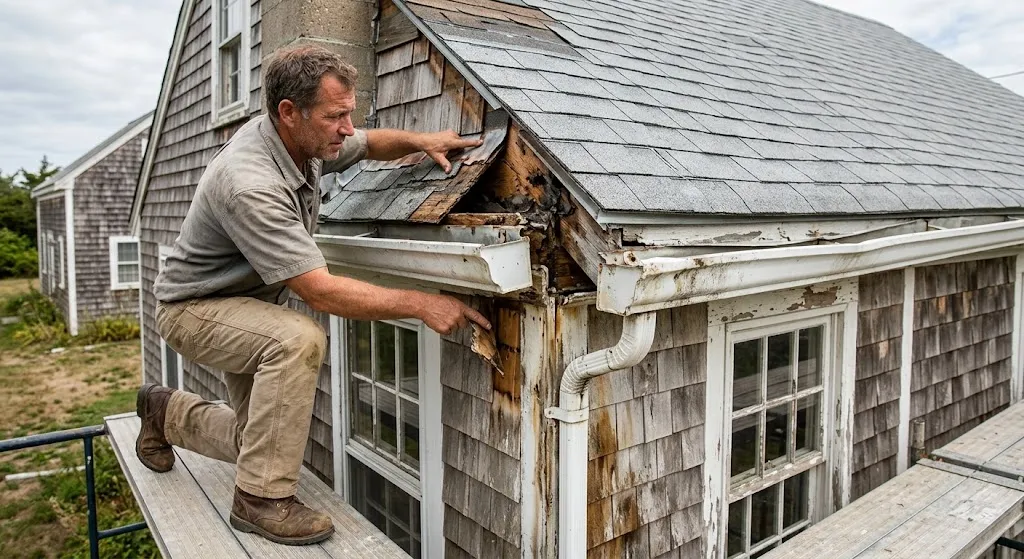
One Update Can Reveal Another Problem
Older houses collect layers of work. The roof may be much newer than the siding. One wall may have replacement trim, while another still carries original wood. Past repairs may have stopped a leak without fixing the reason it started.
Once old material comes off, hidden conditions become easier to see.
The National Park Service calls uncontrolled moisture a major cause of deterioration in older and historic buildings. Long-term moisture can contribute to rot, corrosion, damaged finishes, and structural decay.
Watch for clues such as:
- peeling paint that returns in the same spot
- soft trim near windows or roof edges
- staining below gutters
- warped siding
- musty smells near exterior walls
- rusted flashing or fasteners
One clue does not prove serious damage. It does justify a closer look before new materials cover the area again.
Read the Exterior as One System
Rain follows a route across the whole exterior. It lands on the roof, reaches the edge, enters the gutter, runs through the downspout, and leaves near the ground. Wind can also push water into joints around walls, windows, and roof intersections.
That path should be understood before materials are ordered.
Roof and Flashing
Roofing takes direct weather exposure, and the smaller details often decide how well it performs.
Check chimney flashing, wall flashing, valleys, drip edges, and penetrations during roof work. A weak connection beside old siding or deteriorated trim can keep causing trouble after the shingles are new.
National Park Service preservation guidance specifically recommends maintaining gutters, downspouts, flashing, and roof sheathing as part of roof care on older buildings.
Siding and Trim
Siding sheds rain and protects the wall assembly beneath it. Trim closes vulnerable edges around corners, windows, doors, and rooflines.
Pay extra attention near old leaks, failed gutters, and poorly sealed openings. Those are common places to find moisture damage behind the visible surface.
Gutters and Drainage
Drainage deserves its own inspection. A beautiful exterior can still have a water problem if runoff keeps collecting in the wrong place.
Building Science guidance explains that exterior wall systems need a drainage plane so water that gets behind the cladding has a path back outside. Downspouts and site drainage also need to carry water away from the house.
Check the full route. A new roof or new siding cannot correct a downspout that empties beside a vulnerable foundation corner.
Keep the Architecture in the Plan
Older homes often have exterior proportions that are easy to lose during renovation. Wide trim boards, cornices, shingle patterns, window surrounds, rake details, and roof edges all shape the house.
Take photos before demolition. Measure trim widths and important profiles. Check how new siding will meet windows and doors. Look at roof-edge details before the fascia replacement.
This small amount of planning keeps new materials visually compatible with the house and reduces awkward corrections later.
Coastal Homes Need More Attention to Exposure
Cape Cod homes can see strong wind, wind-driven rain, salt air, and repeated seasonal weather.
Exposure is rarely even across the property. One elevation may take the strongest storms. Metal components can corrode sooner there. Paint, trim, and siding may also age faster on that side.
Inspect each elevation as a group. Look at the roof edge, flashing, gutters, siding, and trim together. Damage patterns become easier to understand when you see the whole side of the house at once.
Material specifications deserve attention too. Fasteners, flashing, sealants, and exterior finishes should suit the site conditions and follow manufacturer requirements.
Repair or Replace? Start With the Cause
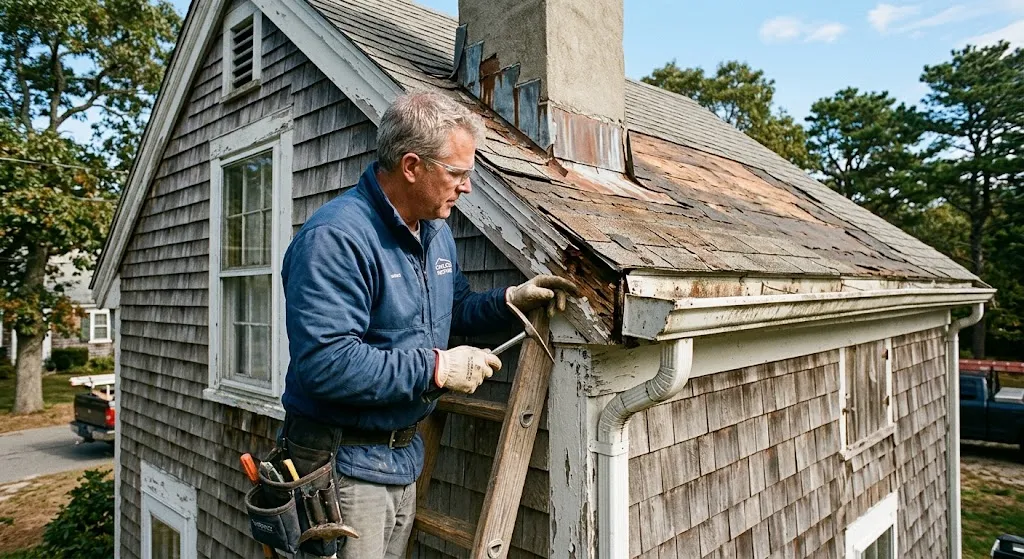
Age alone does not settle this decision.
A small damaged trim section may be repairable. Localized flashing failure may need a focused fix. Several deteriorated siding boards may still allow a practical repair.
Replacement becomes more reasonable when damage is widespread, the same repair keeps coming back, or access to the failed area requires opening a large section anyway.
Use this order:
- Find the source of the moisture or deterioration.
- Check how far the damage extends.
- Identify which materials are still sound.
- Price a durable repair and a broader replacement scope.
- Check which nearby systems are likely to need work soon.
The fifth step can prevent duplicate labor. If you complete siding this year, known flashing work next year may force you to open part of that finished area again.
Plan the Work Before Demolition Starts
Exterior projects go more smoothly when the sequence is clear.
Solve active leaks first. Correct failed flashing and drainage. Repair damaged sheathing while access is open. Coordinate gutters with the finished roof edge. Make sure trim dimensions work with the selected siding. Address known wall moisture before the new exterior closes everything up.
A broader inspection at the start gives you a better picture of the house. You know what can stay, what needs repair, and which jobs belong in the same project.
Older homes rarely need every exterior component replaced at once. They do need the pieces to work together. That is the part homeowners often miss, and it often saves them the hassle of reopening finished work a year or two later.





Leave a Reply