

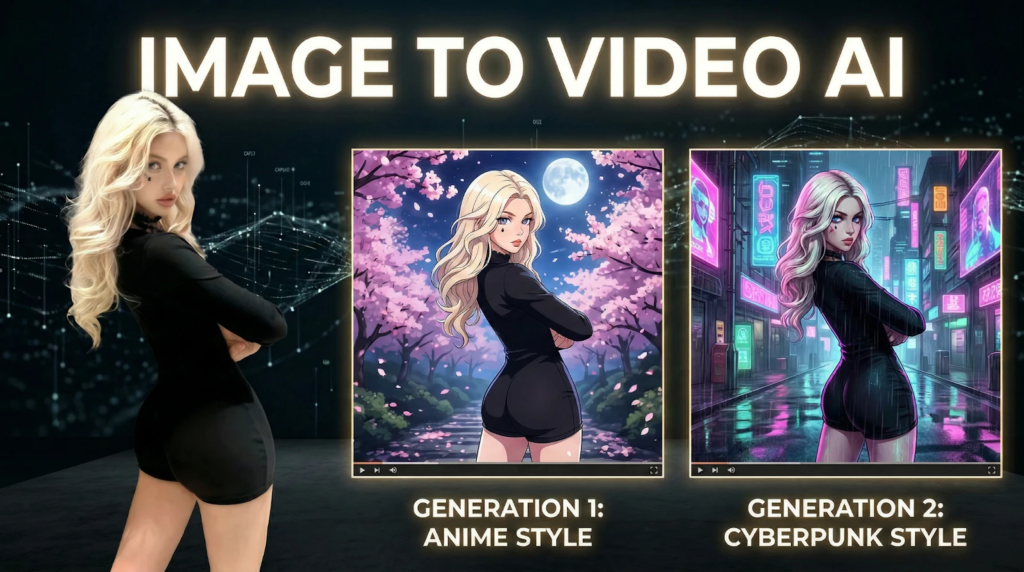
Image to video on Videoinu is a simple way to turn a still image into a moving clip. You upload one image, describe the motion or camera feel you want, and generate a short video from that starting point. Videoinu presents this as a multi-model workflow, and Veo is one of the options available for image-based generation when you want a cleaner, more polished look.
This works well for product shots, character images, artwork, posters, and social content. It can also be a good fit if you want one of the best image to video generator workflows for simple visual ideas without starting from a full text prompt.
How to Use Image to Video on Videoinu
Step 1: Upload a clear image
Start with one image that is easy to read. A clean portrait, product photo, illustration, or scene image usually works best. Videoinu supports common image formats like PNG, JPG, and WEBP for image-to-video generation.
Step 2: Describe the motion
Do not rewrite the whole image in the prompt. The image already defines the subject and layout. Use the prompt to describe movement instead.

For example:
Slow camera push-in, soft cinematic motion, gentle hair movement, warm light, polished film look.
That usually works better than overexplaining every visual detail. Videoinu’s image-to-video flow specifically allows users to guide camera movement, subject motion, and visual style.
Step 3: Keep the first idea simple
A small motion idea is often better than a dramatic one. You might ask for a slow zoom, light wind, subtle face movement, or a soft cinematic pan. If you want a cleaner commercial feel, Veo is a natural model to mention here because Videoinu presents it as a strong option for polished visuals, realistic motion, and professional-looking output from text or images.
Step 4: Generate one short test first
Run one version and check the basics. Does the motion feel natural? Is the camera move too strong? Does the image still look clean once it starts moving?
If the result feels off, change one thing at a time. A simpler motion prompt usually gives you a better first result than trying to force too many effects at once. That fits the general Videoinu image-to-video workflow, which is built around testing multiple versions from the same image and choosing the one that fits best.
Step 5: Try a second version
One of the useful parts of image to video is that the same image can lead to more than one result. You might make one version feel cinematic, another feel cleaner for ads, and another feel softer for social content. Videoinu explicitly frames image to video as a way to generate multiple versions from one image across different animation styles.
Tips for Better Results
Use an image that already has a strong subject. Keep the first motion prompt short. Focus on movement, camera feel, and mood instead of describing the whole picture again. If you want a more premium visual finish, Veo is a reasonable option to try inside this workflow.
Final Thoughts
The easiest way to use image to video on Videoinu is to start with one strong image and one clear motion idea. Test a short version first, keep the prompt simple, and build from there. That first result usually shows very quickly whether the image has enough strength to carry a full clip.


Leave a Reply