
A desk looks right online until it blocks the closet. The speakers fit beside the screen, but one ends up in a corner. There is room for the keyboard stand, provided nobody needs to open the door.
Before buying equipment for a home studio, put the room on paper. A measured floor plan helps you work out where you can sit, what fits around you, and which compromises need attention. It won’t tell you how the room will sound, but it gives you a starting point for listening tests and acoustic measurements.
If you’re remodeling, start by comparing possible rooms. If the spare bedroom is already your only option, skip straight to measuring it.
1. Choose the room before planning the setup
Where could you record a vocal or practise without disturbing someone who is sleeping? Which room is least exposed to traffic, plumbing or appliance noise? Think about sound coming in as well as sound going out.
Room separation is only one consideration. Acoustic treatment controls reflections and reverberation inside a room; sound isolation addresses transmission between spaces. Foam panels alone do not soundproof a studio. Structural changes, ventilation and isolation work need appropriate professional advice, particularly for a garage conversion.
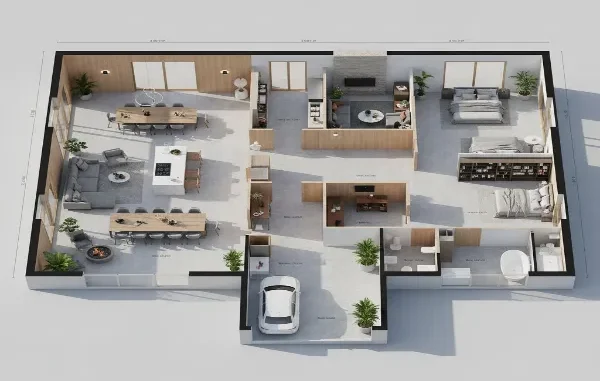
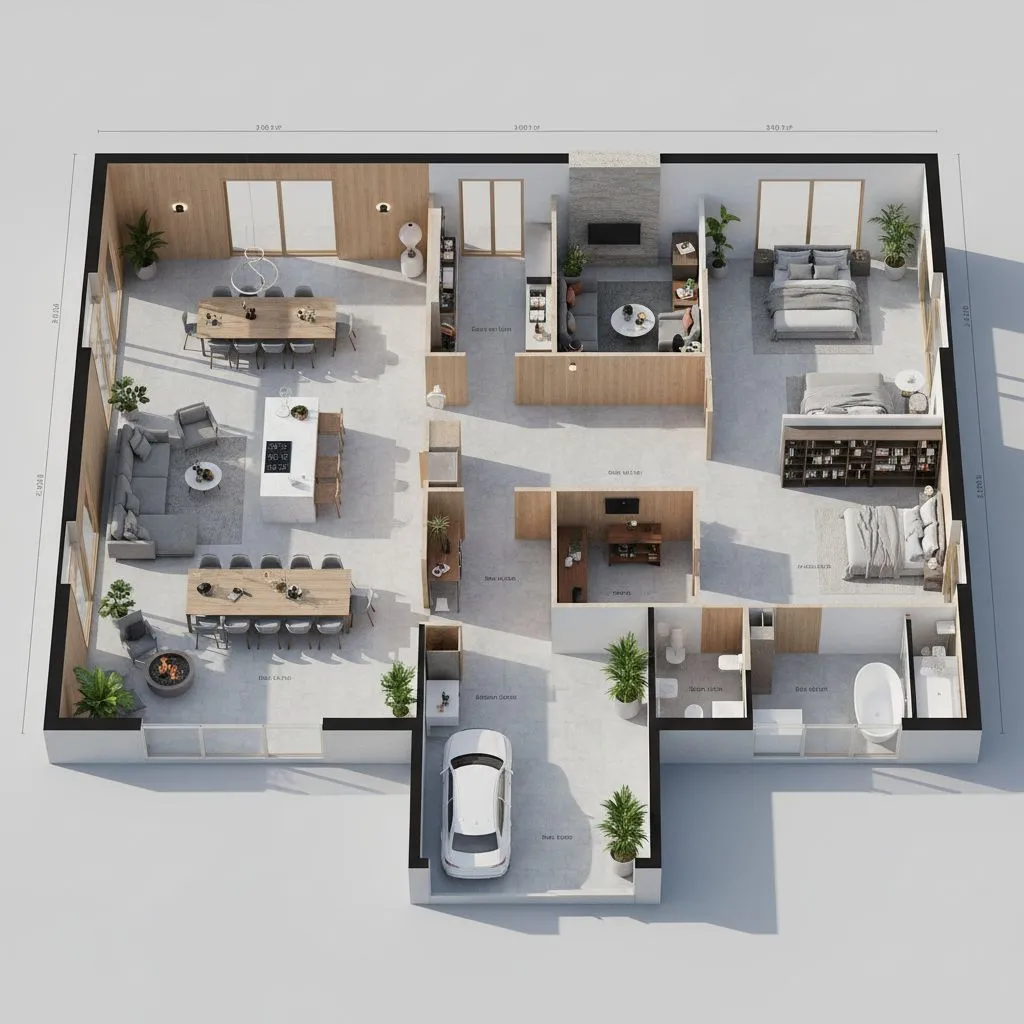
If a renovation still lets you choose, compare where the music room would sit against the bedrooms and shared walls. A floor plan tool for remodel planning turns that comparison into a picture the whole household can react to. AIDesignHouse’s free floor planner drafts a whole-home concept from a short brief; new accounts get signup credits to try it, and downloading images requires a paid plan or credit purchase.
You give it the home type, floor count, total area and room counts. There’s no “music room” option, so add one as a note, such as “place a music room away from the bedrooms,” and check whether the image actually follows it. The 3D Isometric style effectively turns it into a 3D floor plan generator: an angled cutaway that non-musicians in the house read more easily, though not an editable 3D model. Either way, it’s a concept for discussion. It won’t replace a floor plan designer working from measured drawings, and a garage conversion still needs the professional advice above.
2. Measure the room, including the inconvenient parts
Record the length, width and ceiling height. Mark doors and their swings, windows, radiators, outlets and anything that cannot move. Add the dimensions of furniture you already own. Leave space to pull out your chair, reach equipment and carry an instrument through the doorway.
The room dimensions also give you an early clue about bass resonances. In Sound On Sound’s guide to acoustic treatment, Paul White describes axial modes: resonances associated with sound travelling between opposing surfaces along the room’s length, width and height.
For a rough estimate of the first mode on each axis in a rectangular room, divide the speed of sound—about 1,130 feet per second—by twice that dimension. A room 13 feet long, 11 feet wide and 8 feet high has first axial modes near 43, 51 and 71 Hz respectively.
These numbers flag frequencies to investigate; they don’t predict the response at your chair. Higher modes, construction, openings, speaker placement and treatment also matter. White calls a cube “the worst possible shape” because its axial modes coincide. If your room has equal dimensions, that is a reason to pay attention to bass behaviour when testing the setup, rather than assuming a few thin panels will solve it.
3. Mark a listening position before choosing a desk
Draw the listener and speakers onto your measured plan. Genelec’s monitor placement guide offers useful starting points:
- Arrange the listening setup symmetrically about the room’s left-right centre line, toward the front area for music production.
- Place the listening position at least one metre (about 3.3 feet) from the walls.
- Arrange the monitors at a 60-degree angle as seen from the listener, aimed toward the listening position.
- For typical two-way monitors, put the acoustic axis at ear level, usually 1.2–1.4 metres (about 3.9–4.6 feet) from the floor.
Genelec also suggests keeping the monitor’s front typically less than 60 cm from the wall behind it, with at least 5 cm of clearance for a rear bass port. The reasoning: very close to the wall, the reflection from behind the speaker stops cancelling bass. The trade-off is up to about 6 dB more low end, which Genelec says to turn down. Your speakers’ manual has the final word on spacing.
In Sound On Sound’s answer about long, narrow rooms, Martin Walker mentions the familiar 38-percent starting position. In a 13-foot-long room, that puts your ears roughly five feet from the front wall. Genelec’s front third ends nearer 4.3 feet in that same room, so the two suggestions are different places to try. Mark both on the plan, then let listening decide. A plan can suggest a position; it cannot establish the best one on its own.
Now check the practical conflicts. Can the door open? Does a rack sit between a speaker and your ears? Can you reach the keyboard without moving the listening chair out of position? Resolve those questions before choosing the desk width.
4. Check awkward shapes against the measurements
A rectangular desk or shelf can be a box on the plan: width, depth and the clearance around it. A sloping rack, an unusual chair or a custom desk is harder to judge from a rectangle alone.
For those pieces, an AI 3D model generator can give you a rough shape to rotate. Upload a photo of the chair or rack to AIDesignHouse’s img to 3d generator and you get a model of that one object, downloadable as a GLB. Sketch to 3D does the same for a desk that exists only on paper, so you can see it from more than one side before modeling it properly. You can generate 3D furniture models this way one piece at a time, then check each against your tape-measure numbers. Treat them as shape references, not measurements: hidden surfaces are guessed, so a shelf depth or leg position may be wrong, and the tool knows nothing about your room. Generation also costs more than the signup credits cover.
5. Turn the plan into a buying checklist
Before ordering, write down the limits your layout has revealed:
- The desk width and depth that leave doors, seating and access routes usable.
- Speaker and stand positions to try, with enough flexibility to adjust them.
- Any isolation, ventilation or building work that needs professional input.
Then test the proposed listening position with the equipment you already own. Familiar recordings and, if you have a measurement mic, a few in-room measurements will guide the next adjustments better than any product page.
Keep the measurements beside you when shopping. Buy the desk the plan allows, not the one the product photo suggests. The foam can wait until you’ve heard the room.
Related posts:
 Understanding Long-Term Disability Claims in Michigan and Workplace Injury Legal Support
 Canada Visa for Indians Planning a Summer in the Great White North
 How VR Porn Is Challenging Traditional Views on Sex and Connection
 Creative Ways To Use Your Outdoor Space
 The Biggest Furniture Trends in the US Right Now (And It’s Not What You Think)
Leave a Reply